Introduction
When we do the .NET development, there are four ways to share the code. One is sharing the code directly, which is not a good idea. The second way is adding the projects as references. However, we don’t have the projects to add in many cases. The third way is adding the lib binary. It is working, but the dependency problems are pretty annoying and take lots of effort to figure out.
So that is the point why we want to use Nuget to help us out, and this is the fourth way.
In this article, I’ll use Visual Studio 2022 to create a simple demo library and build it as a NuGet package. Then I’ll use the Gitlab server to manage the NuGet packages’ publish and installation.
Package Registry
We need a Package Registry to manage the NuGet packages. In Gitlab Server, every project has a Package Registry. We can use existing ones or create a new project to organize the NuGet packages.
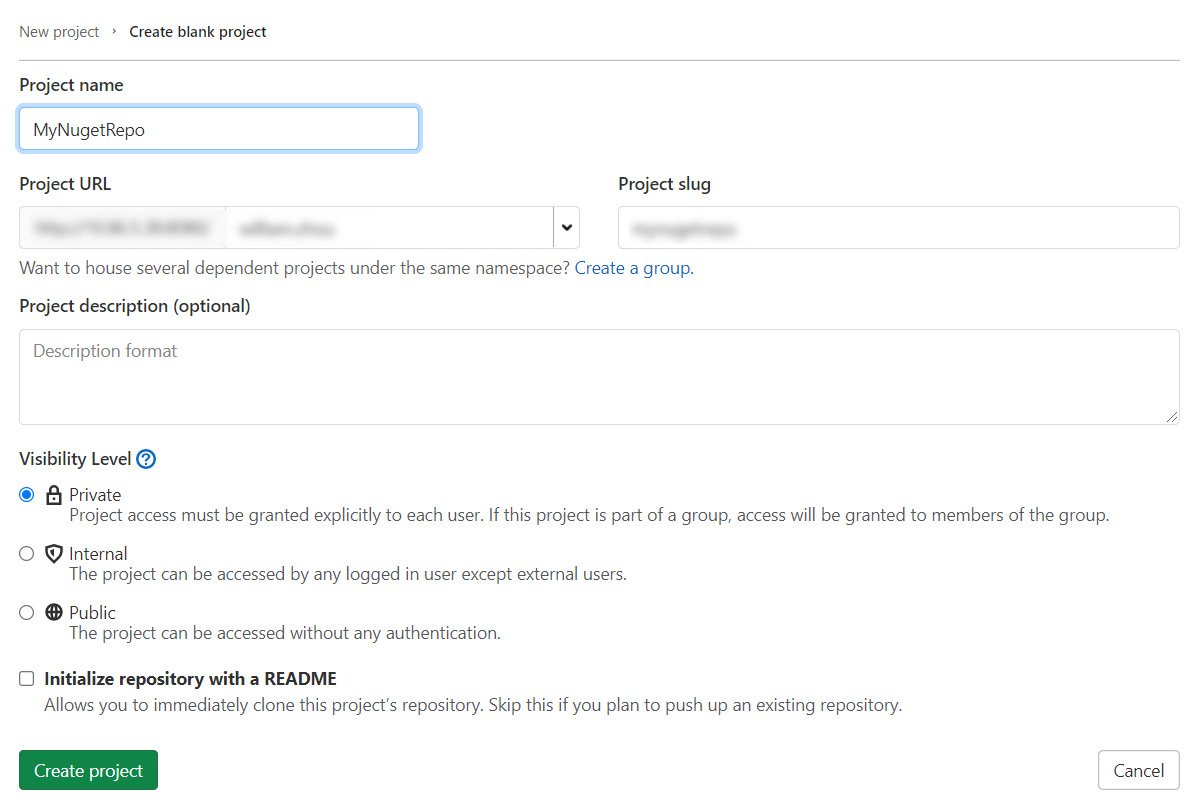
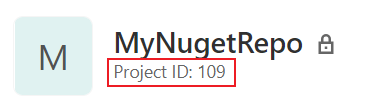
Here we create a new project named MyNugetRepo.
We need to note the project ID, because we’ll use it later.
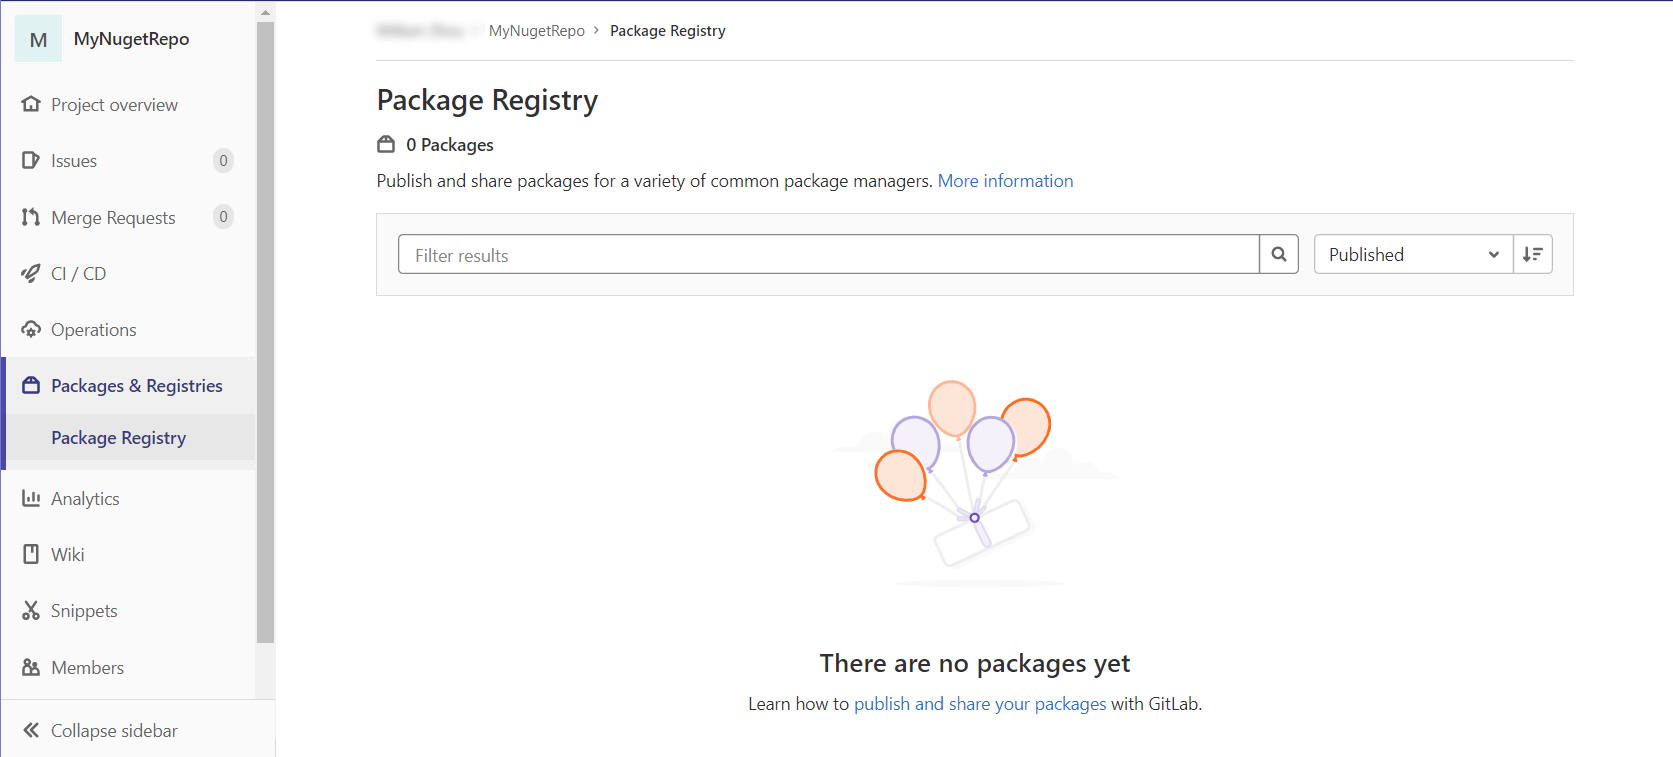
Currently, the Package Registry is empty.
Then we need to create a token for later use.
Personal Access Token
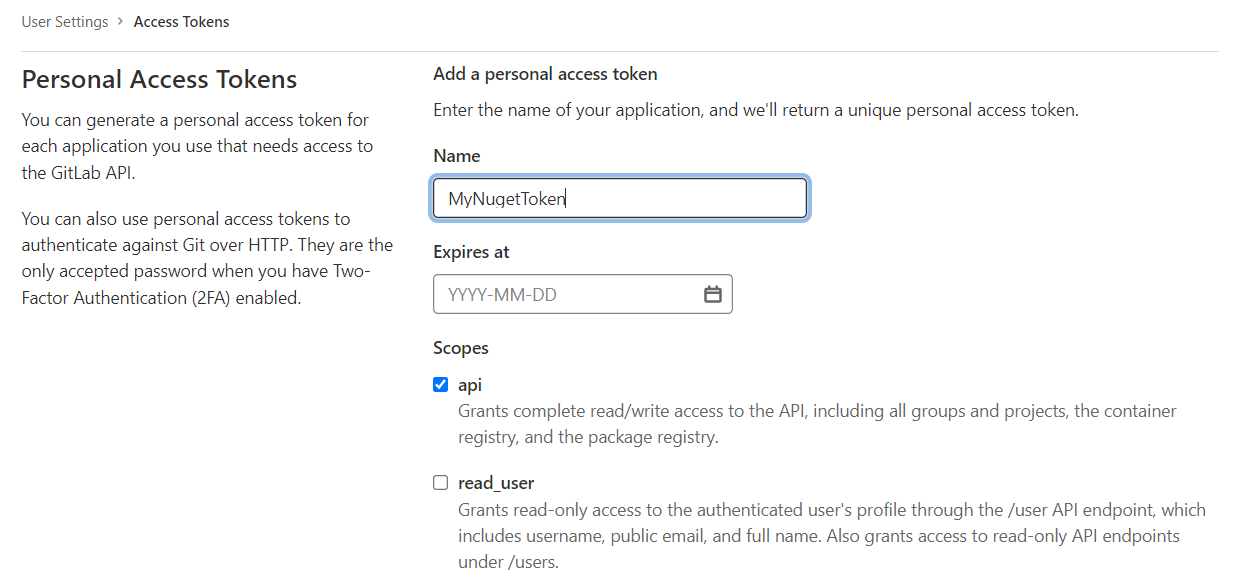 To select the
 api is enough.
Here the Package Registry is ready. Now we need to create a simple nuget package.
Nuget Package Creation
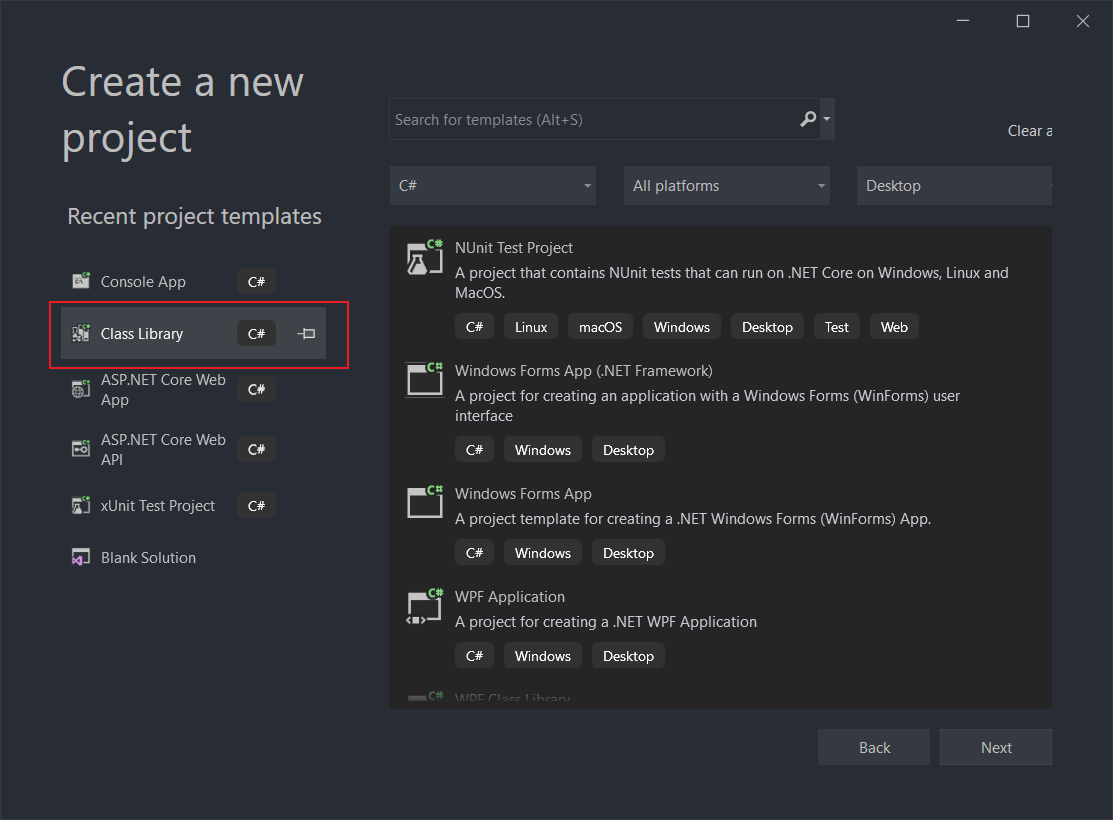
Open the Visual Studio 2022, create a Class Library named CalculationHelper
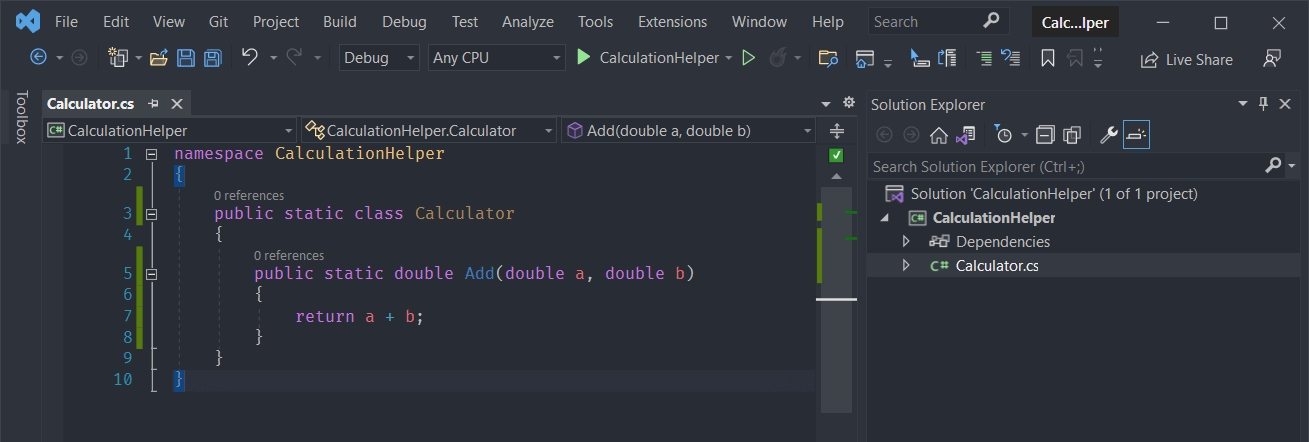
Implement a simple function
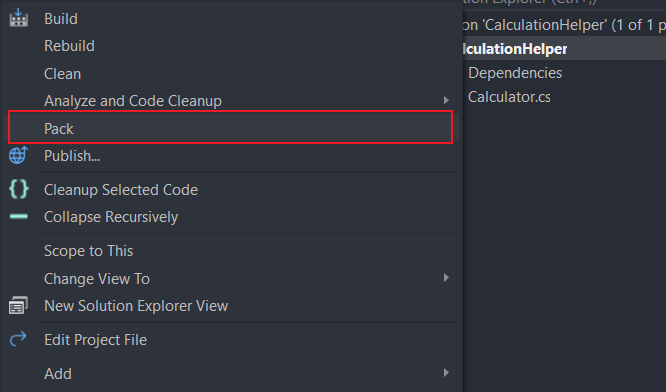
Pop up the right click menu and click the pack to build a nuget package.
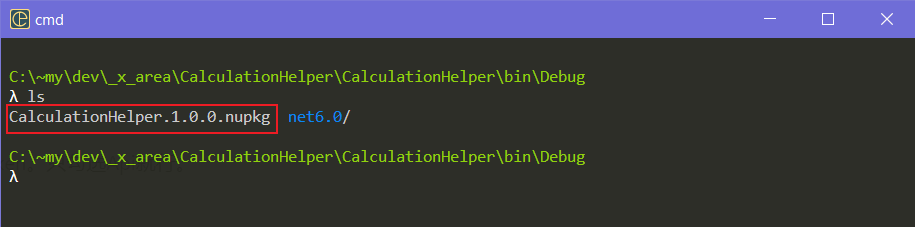
Now, we get a nuget package under the path
.\CalculationHelper\CalculationHelper\bin\Debug\CalculationHelper.1.0.0.nupkg
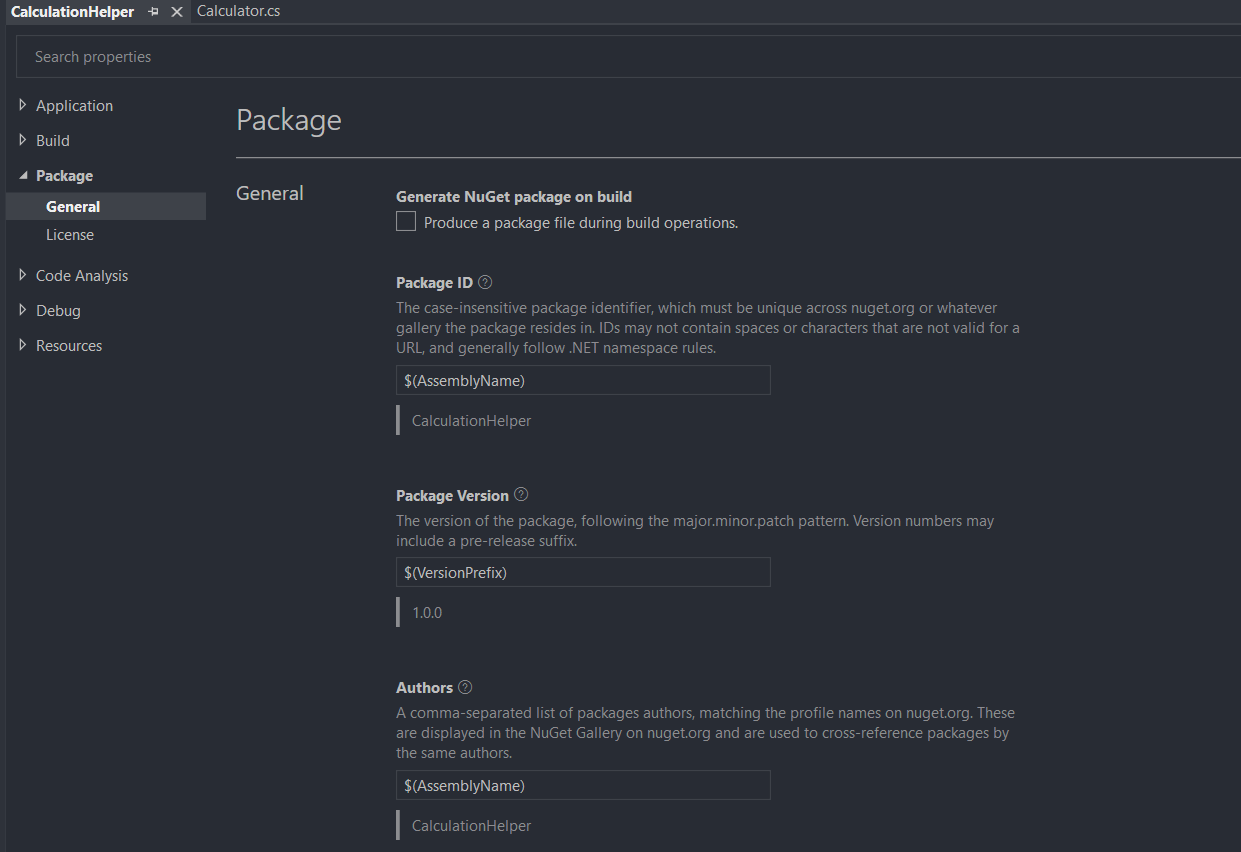
We can customize the metadata of the nuget package in the properties of the project.
Now we’ll push the nuget package to the Package Registry of the MyNugetRepo we just created.
Publish
The publish process is pretty simple, only two commands.
First, we add the MyNugetRepo to the NuGet source.
nuget source Add -Name MyNuget -Source "http://10.86.100.1/api/v4/projects/109/packages/nuget/index.json" -UserName william -Password zRBmNHET5Gmps8SADF
The 10.86.100.1 is the IP address of the Gitlab Server.
The 109 is the project ID, we noted before.
The password is the personal access token we created before.
Then we publish the package to MyNuget source. For simplicity, I cd to the nuget package existing folder, and run the push command.
nuget push CalculationHelper.1.0.0.nupkg -source MyNuget
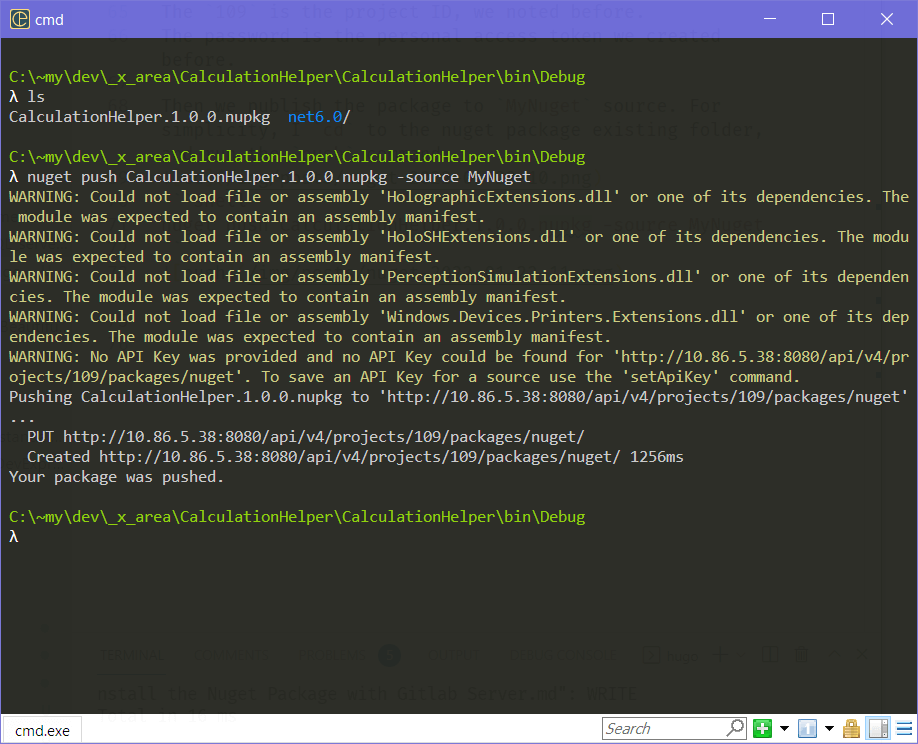
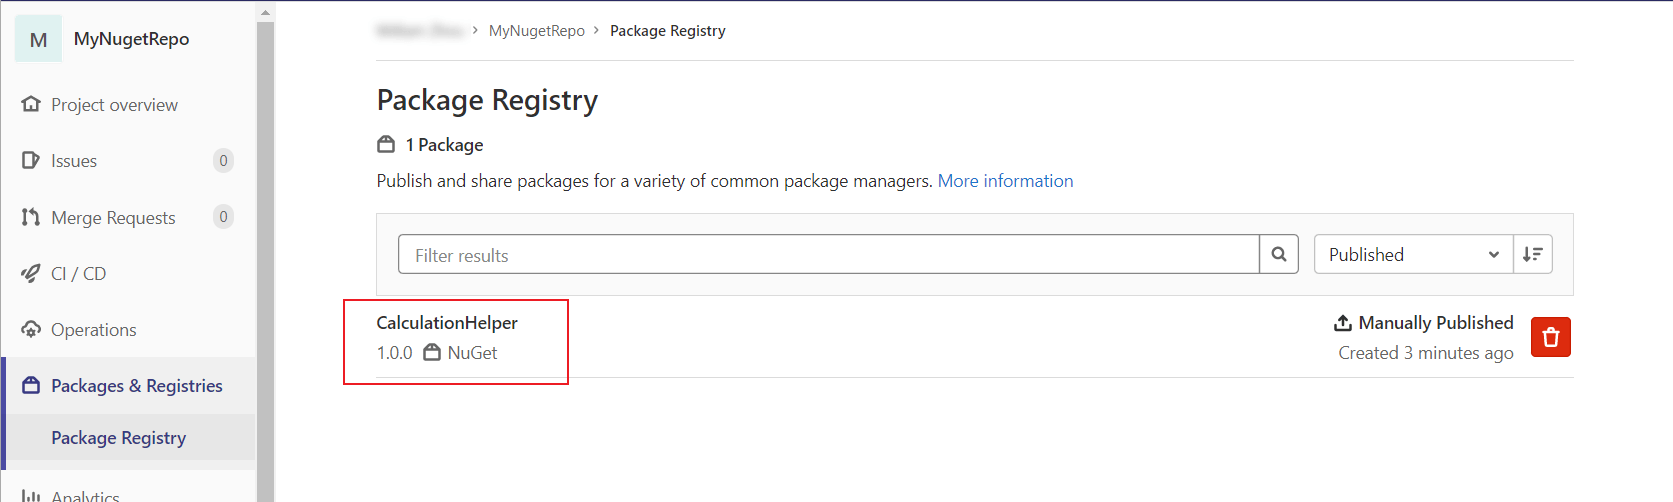
Publish successfully. We can also check the result in Gitlab Server.
Install and use
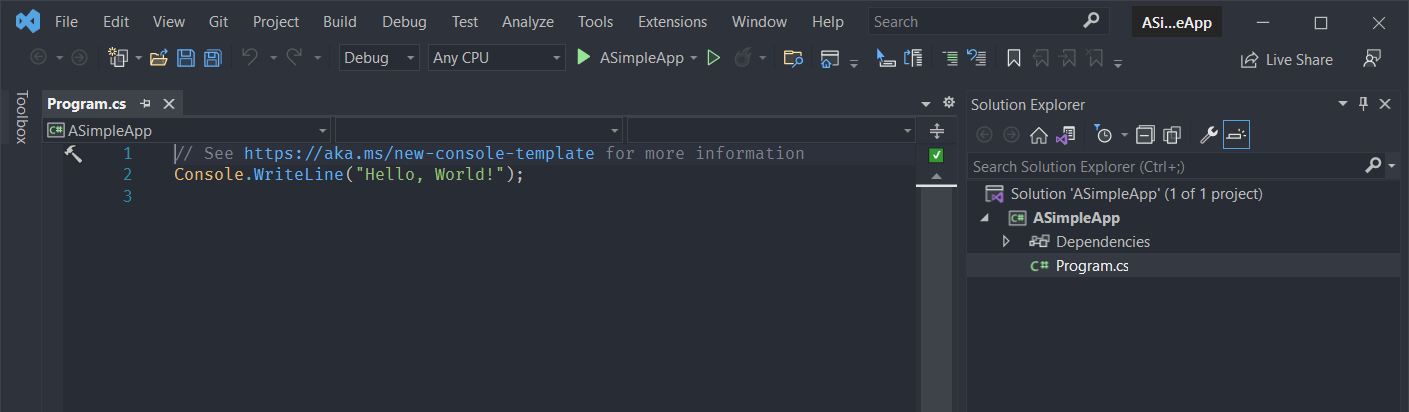
Now we create a simple console app to install and use the nuget package we just published.
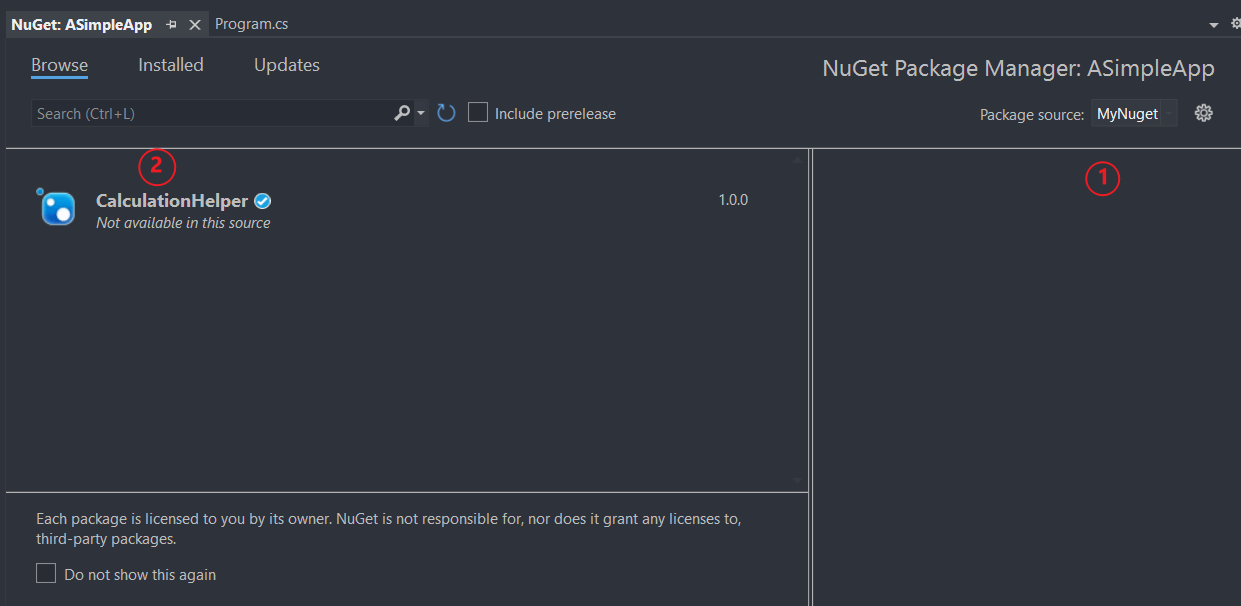
Select the MyNuget source. The we’ll see the CalculationHelper and install it.
Then add these two lines of code to the main
Console.Write("1 + 2 = ");
Console.WriteLine(CalculationHelper.Calculator.Add(1, 2));
Run and we get
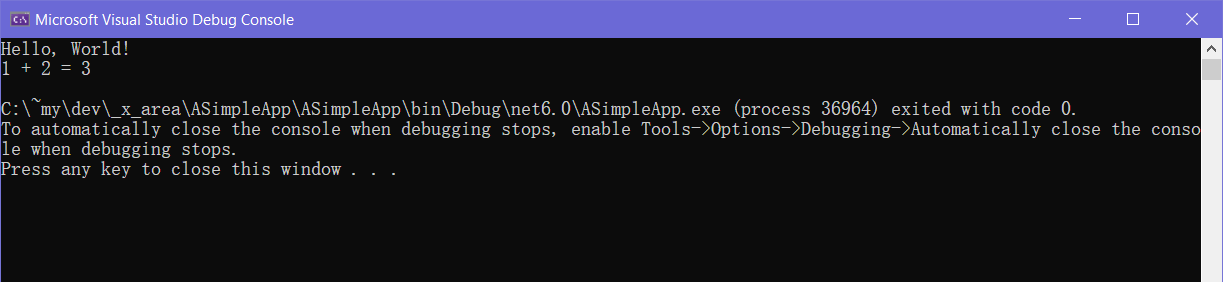
Everything goes fine and successfully.
Conclusion
After all of those steps, now we know how to publish and install the Nuget package with Gitlab Server.
(end.)